Page Links
Opening Page      Home      Events / Activities      Event Groups & Notes      Events & MVDB View      Reports      Import & Compare      Social Media Ad

Matrix View DataBase - MVDB
Groups / Businesses & Subjects / People, Places, & Things


Go to the top of the Page

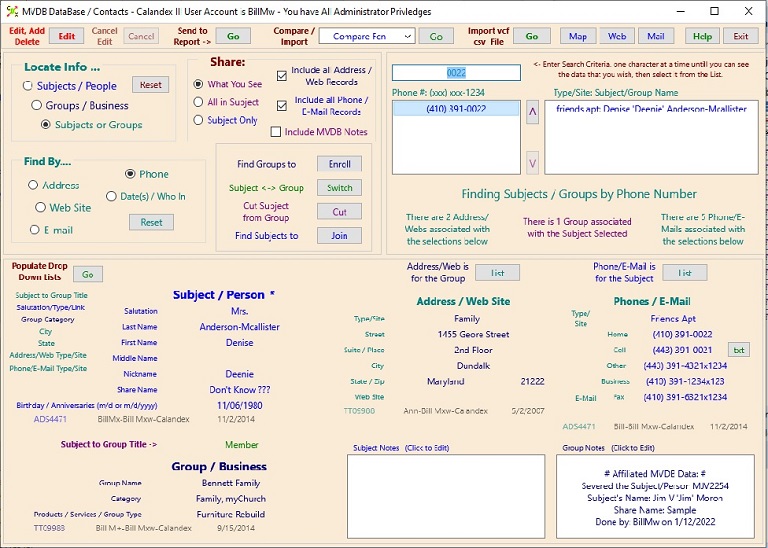
    Editing Current MVDB Data:
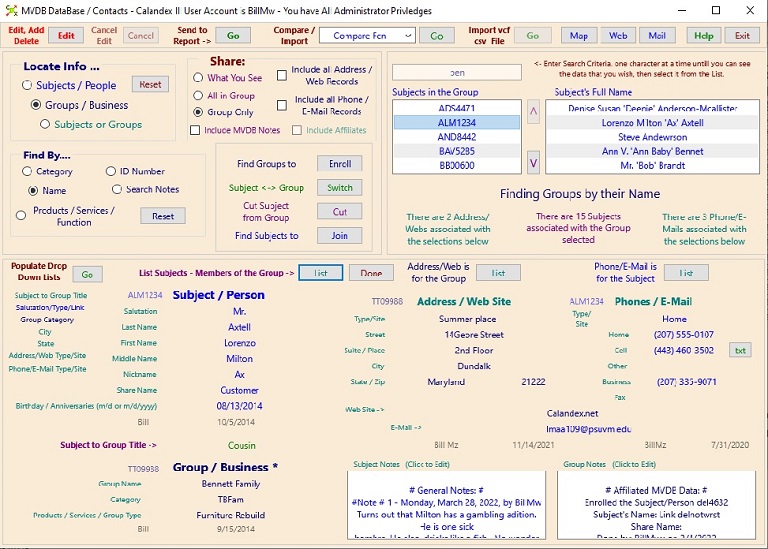
    Current Data is simply the Data in the Current view.
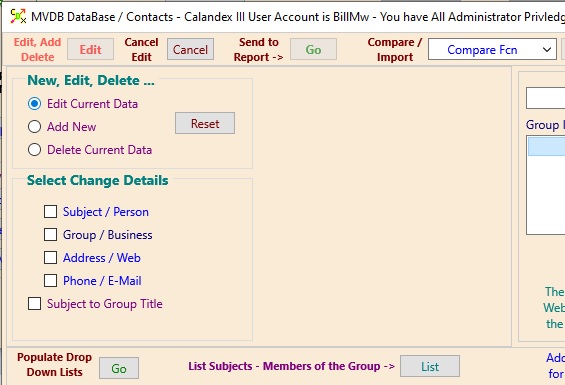
    Check the 'Edit Current Data', 4 or 5 check boxes become available:
    if there are no Subject / Group attached to the base Group / Subject respectively.
  • Subject / Person
  • Group / business
  • Address / Web
  • Phone / EMail
  • Subject to Group Title


Edit Current Data

Go to the top of the Page


    Editing: Adding New Subject (Group) MVDB Data:
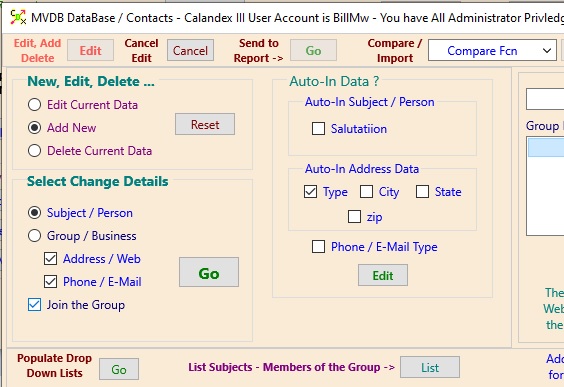
  • Press the 'Add New Button', 5 check box options become available: The 'OK' Button becomes available
    immediately after checking either the Subject (or Group) Box is checked.
  • When the 'OK' Button is pressed, the new data entry forms are opened & highlighted.
    Tip: Use the 'Tab' keys on the keyboard to move around while you add data.
    (auto entries are recorded and entered in the City/State data when the 'Tab' key is used)


Add New Subject (Group)

    Editing: Adding New Address and/or Phone MVDB Data:
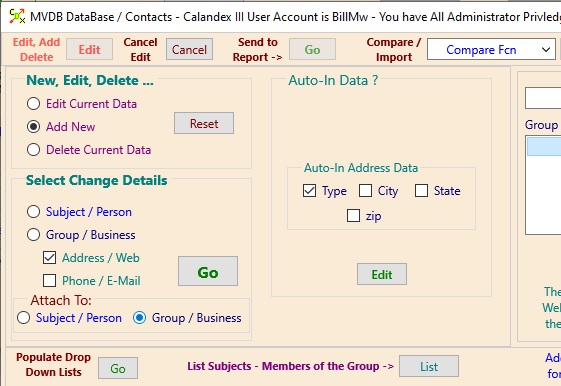
  • Press the 'Add New Button', 5 check box options become available: The 'OK' Button is not available
    until after checking either the Address and/or Phone Box is checked, then you must pick
    either the Subject or group for attachment.
  • When the 'OK' Button is pressed, the new data entry forms are opened & highlighted.
    Tip: Use the 'Tab' keys on the keyboard to move around while you add data.
    (auto entries are recorded and entered in the City/State data when the 'Tab' key is used)


Add New Address and/or Phone

Go to the top of the Page

    Editing: Auto Inputting of MVDB Data:
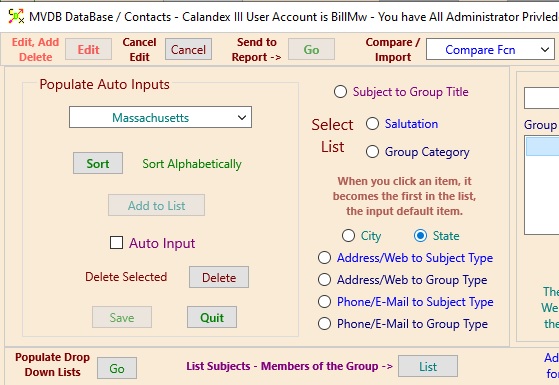
    Press the 'Edit Button' (in the 2 Images for adding New Input directly above),
    The Edit Panel is replaced by the view to the right.
    This panel sets up all your Auto-Inputs
  • Select the Auto Input Data to be changed.
  • Click on one or add a new one to the list.
  • Decide if default mode will be checked.
    if so, check the 'Auto Input' box, then 'Save'
  • Select the next Data to change or 'Quit'


Auto-in - Set Data


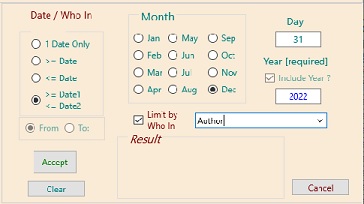
Date / WhoIn Select Panel

Go to the top of the Page